
Last updated September 20, 2026
Full 25-point door and opener safety check with every visit - springs, cables, rollers, tracks, and your LiftMaster or Chamberlain opener included
You get a price before we start. It does not change when the truck arrives.
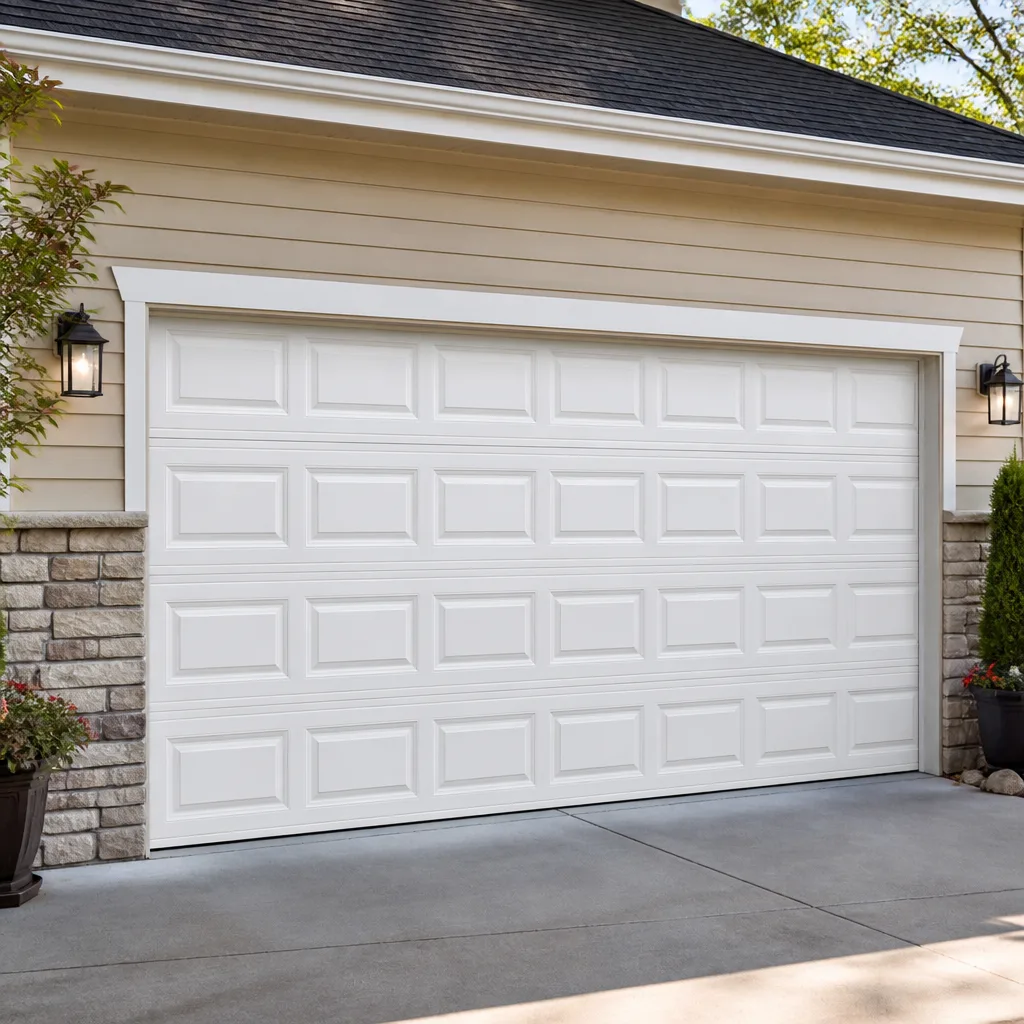
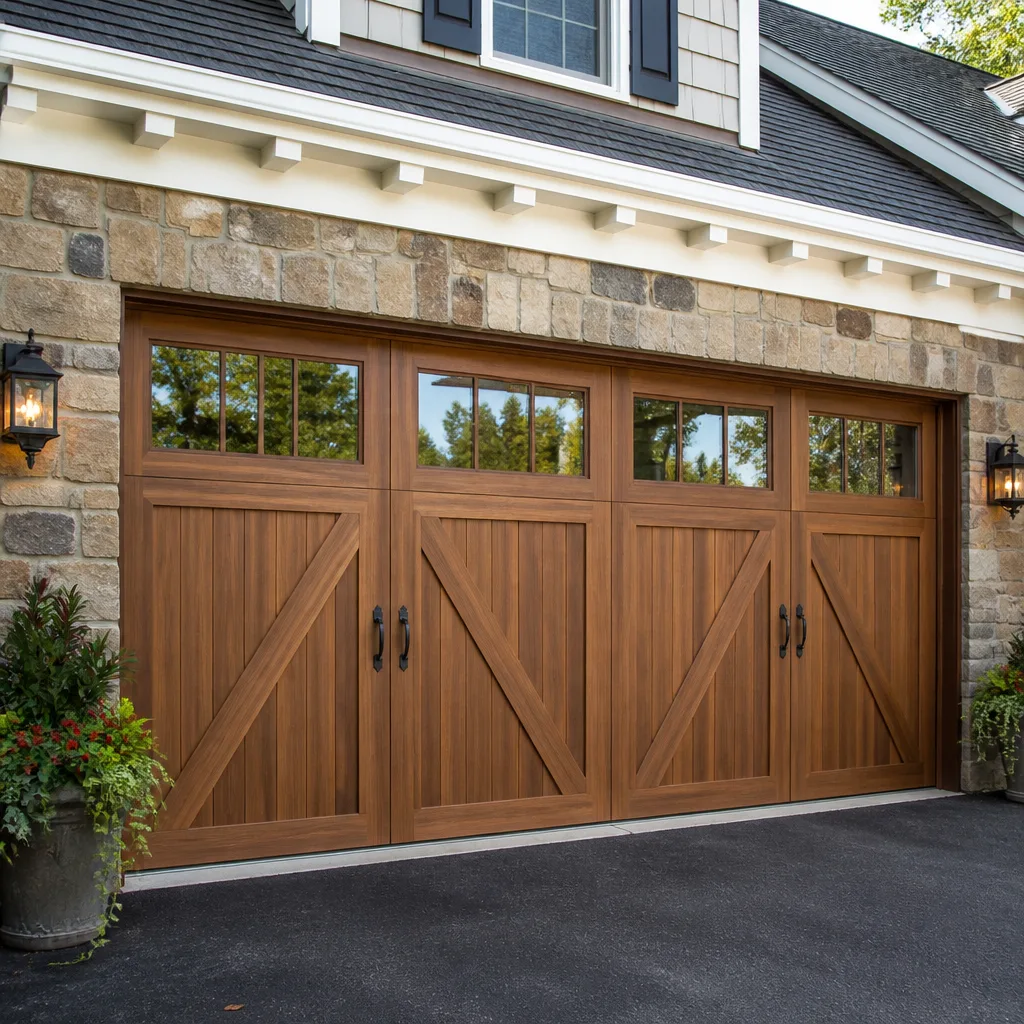
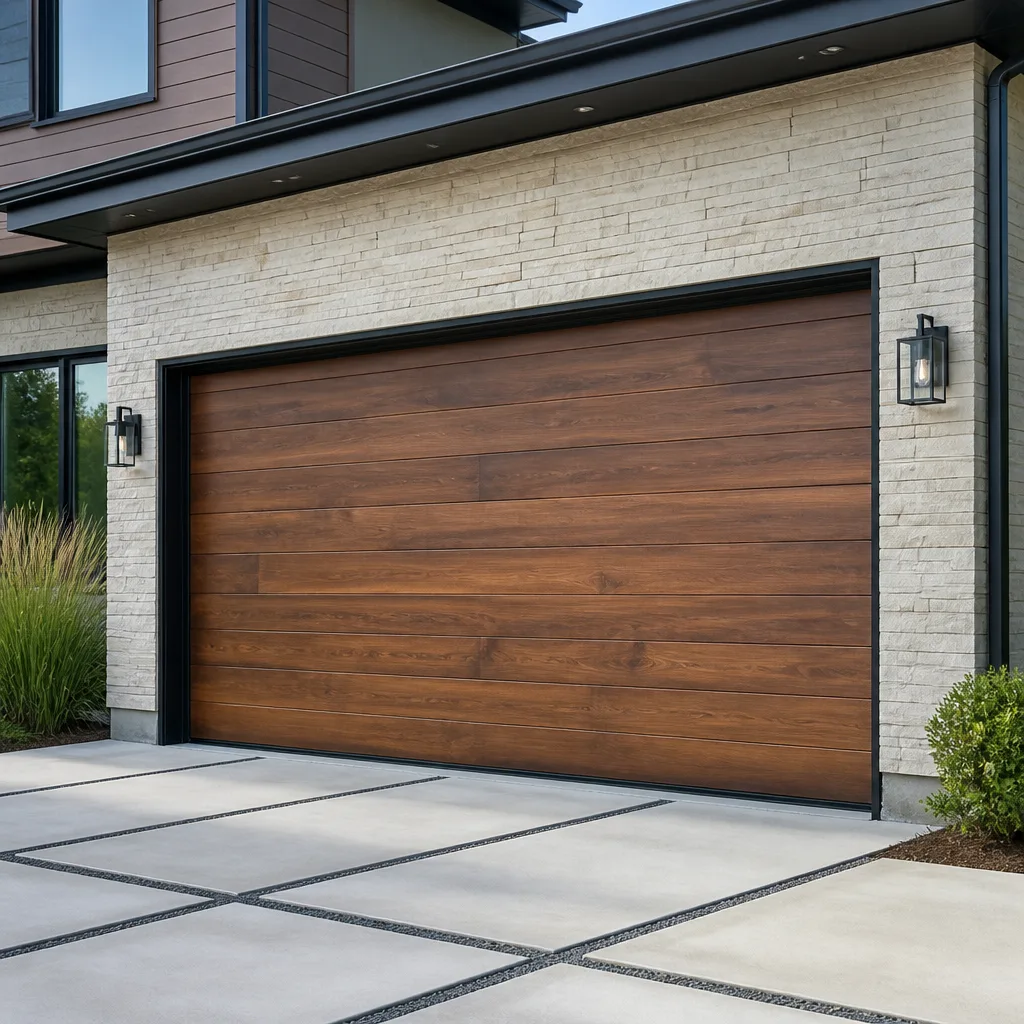
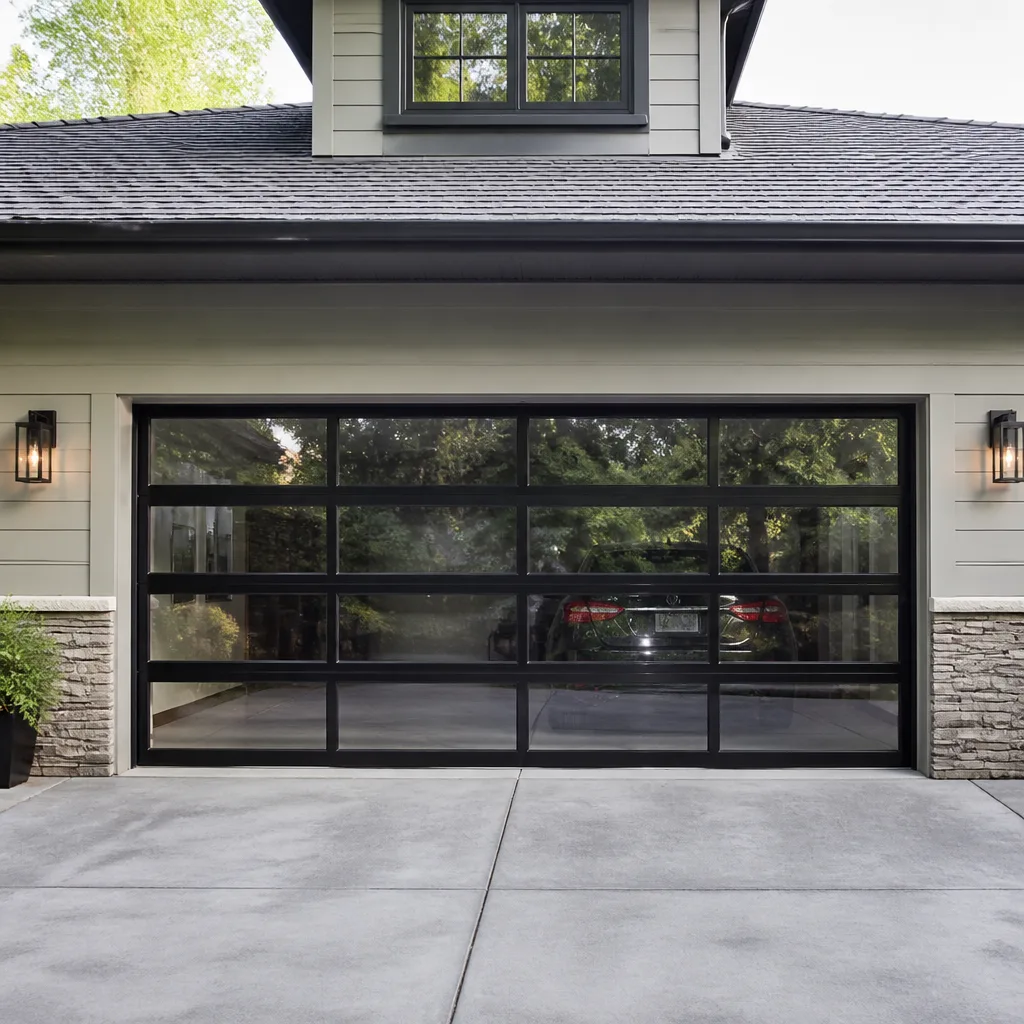
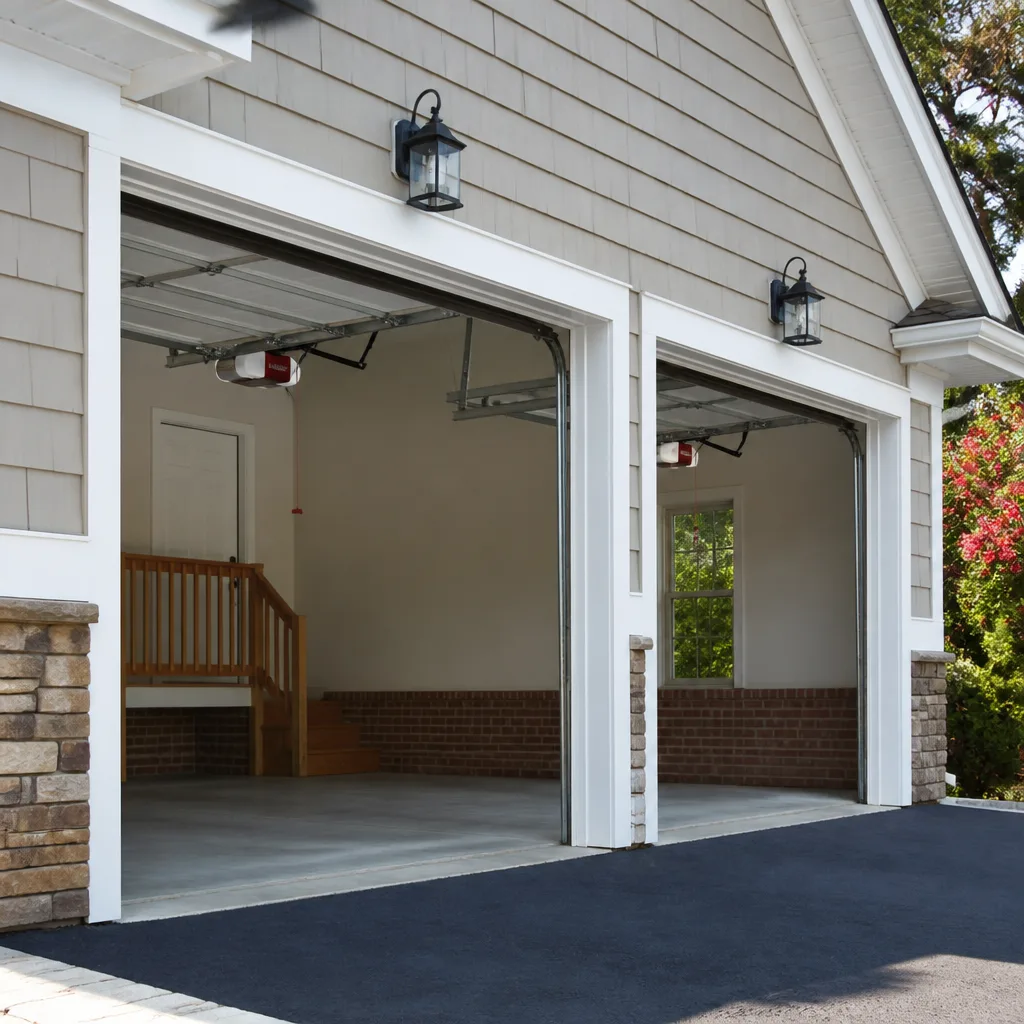
 Before
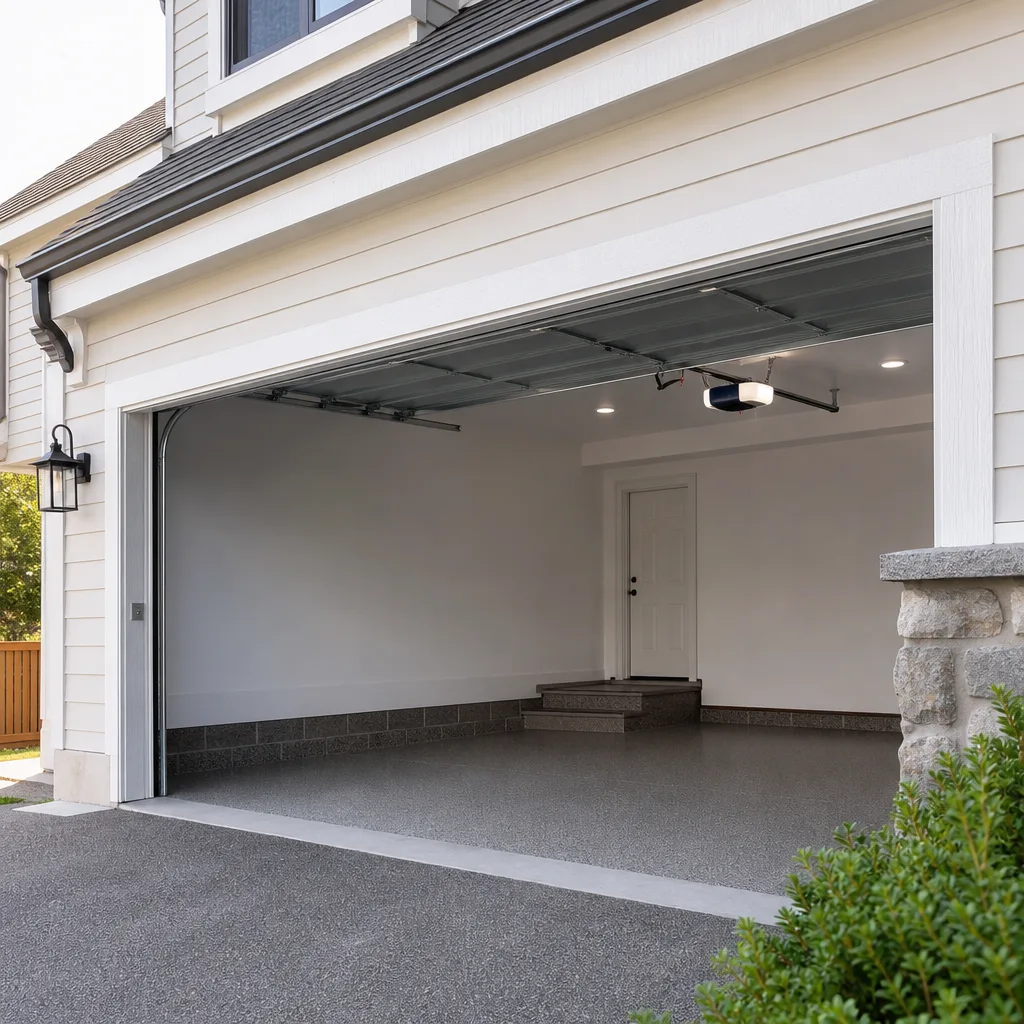
 After
After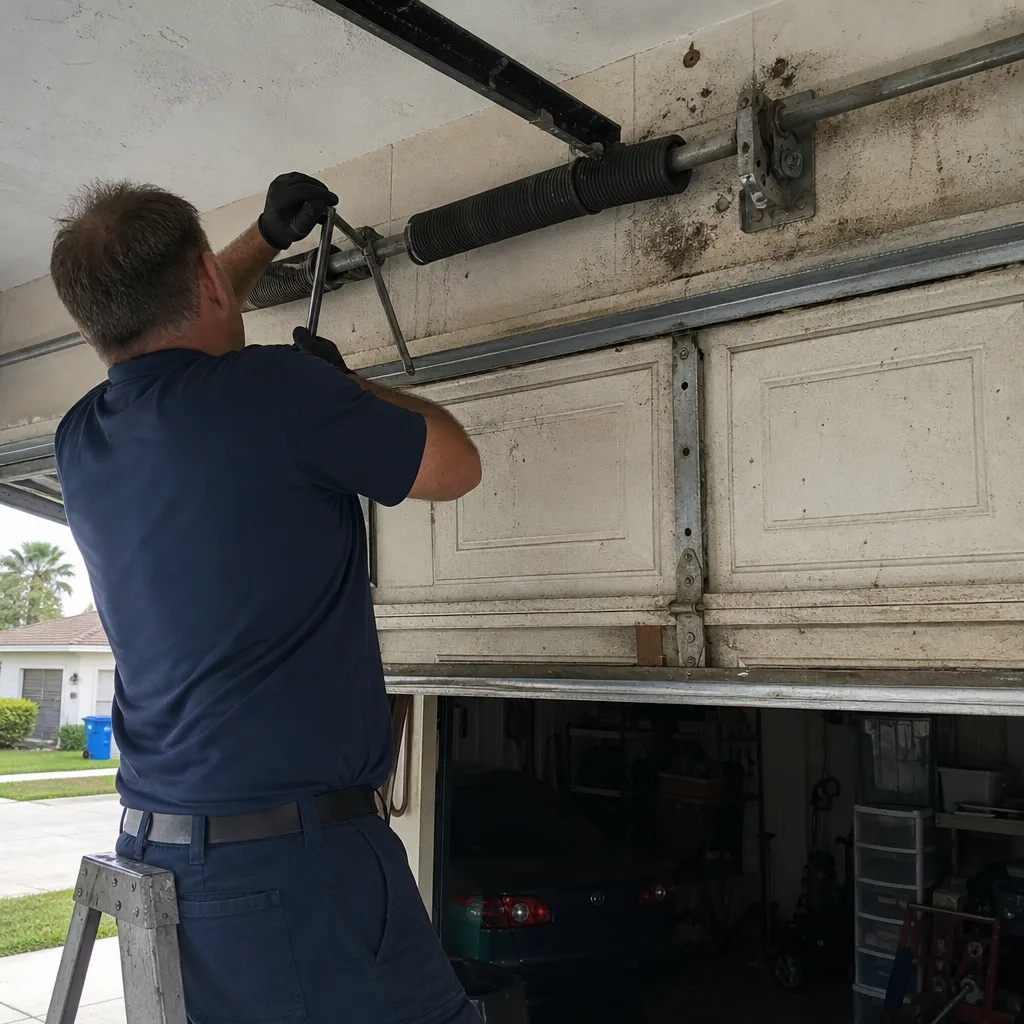 Before
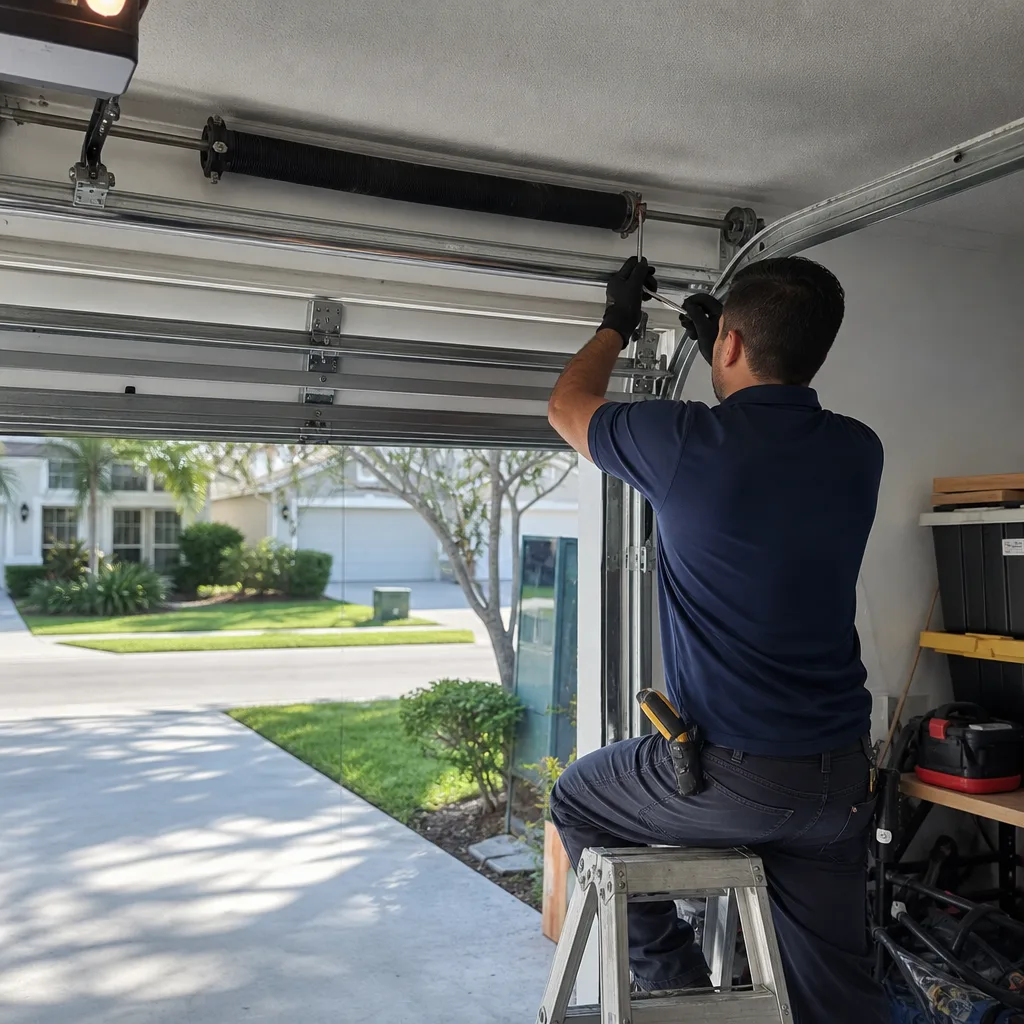 After
After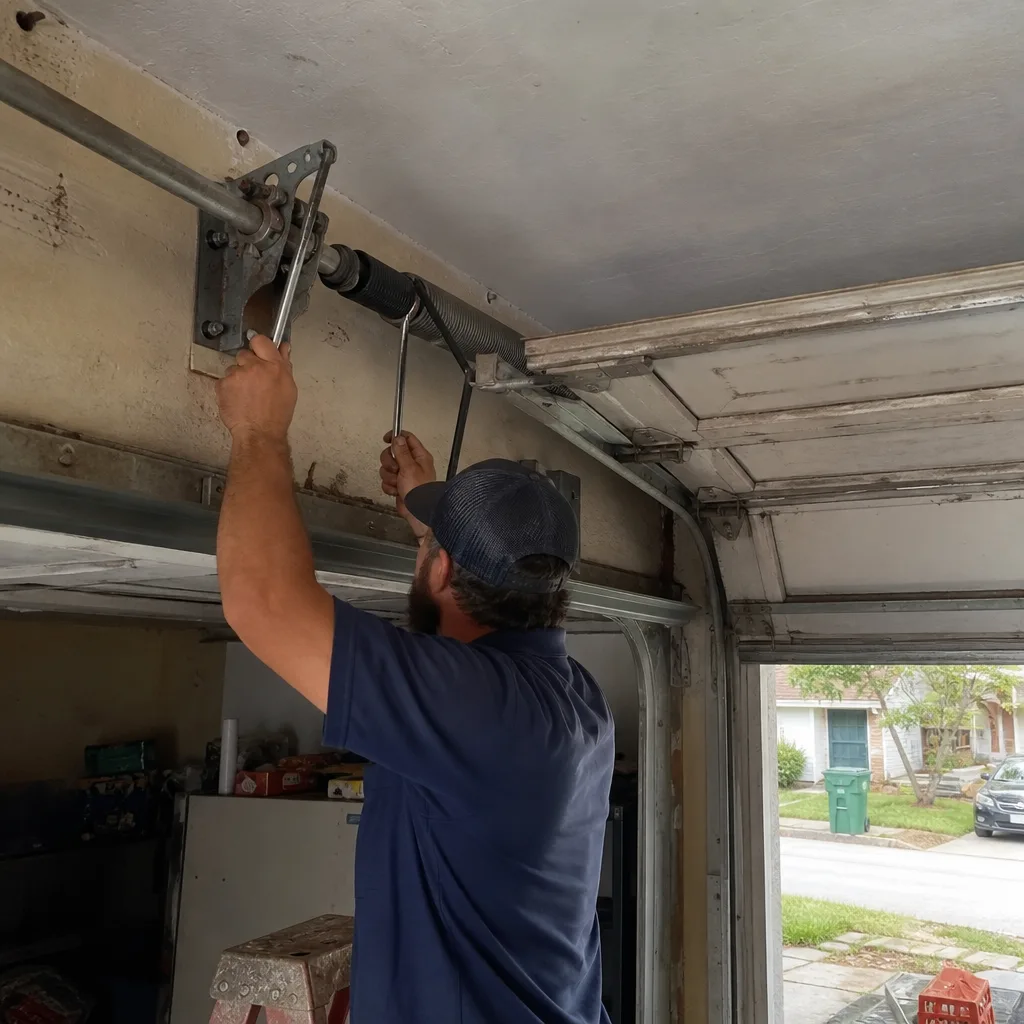 Before
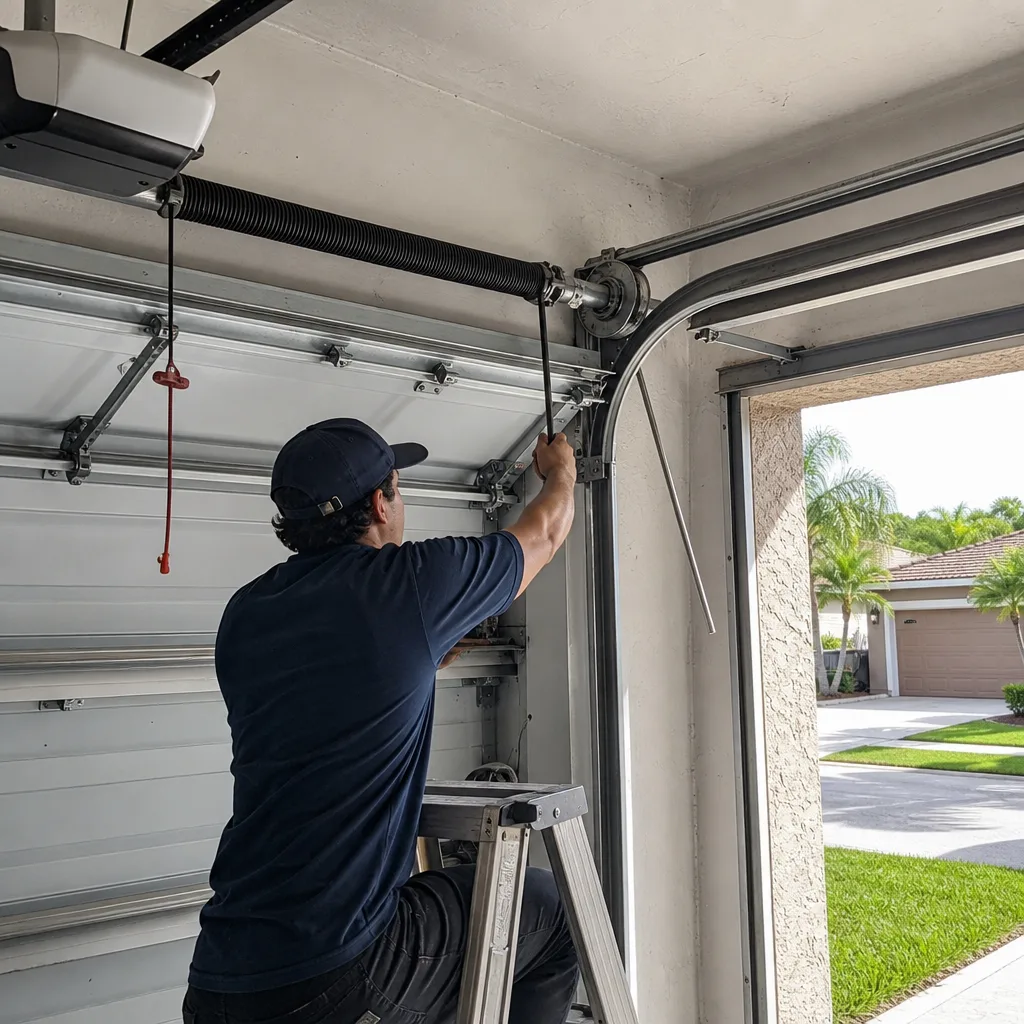 After
AfterGarage Door Repair Maintenance Checklist for Pembroke Pines Homeowners
A torsion spring that snaps in a Pembroke Pines August has usually been broadcasting its failure for two to three months through a specific sound: a faint metallic tick on descent. Most homeowners hear it, glance up at the door, and go back inside. In this guide, we’ll walk you through the exact inspection points that catch that tick before it becomes a broken spring, a stranded car in the driveway, and a Garage Door Repair bill that could have been avoided. Each item pairs what to check with what the finding means and what it costs to fix in the Broward County market, because a checklist without dollar context is just a list of things to look at.
Quick Answer
A garage door maintenance checklist for Pembroke Pines homes has five quarterly items and nine annual items; for more guides & resources on keeping your door running, explore our blog. Quarterly checks take 15 minutes and cover springs, cables, balance, safety sensors, and closing force; annual items add roller wear, seal compression, track alignment, and opener logic board health. South Florida humidity shortens roller replacement intervals from the manufacturer-stated 7 to 10 years down to roughly 4 to 6 years in coastal Pembroke Pines, so a local checklist must use an adjusted schedule.
Table of Contents
- Why South Florida Weather Changes Your Maintenance Schedule
- The 15-Minute Quarterly Checklist (What to Check and Why)
- The Annual Deep Checklist: Measurements That Matter
- Humidity and Rollers: The Interval Manufacturer Schedules Get Wrong
- The Photo Documentation Protocol for Every Check
- The Three Skipped Items That Void Most Manufacturer Warranties
- Common Mistakes to Avoid
- When to Call a Professional
- Frequently Asked Questions
- The Bottom Line
BeforeAfterWhy South Florida Weather Changes Your Maintenance Schedule
Garage door manufacturer manuals are written for a national audience. A Chamberlain or LiftMaster maintenance chart printed in a Michigan warehouse does not account for what a Pembroke Pines garage sees from May through October: 90% relative humidity at 7 a.m., salt-laden air pushing inland from the Atlantic, and daily afternoon thunderstorms that cycle the air through your garage like a sauna exhaust fan. Those conditions change which components fail first and how often you need to look at them.
The three components that wear fastest in Pembroke Pines are, in order of failure frequency we’ve documented across thousands of local service visits: nylon rollers (humidity degrades the bearing seals), bottom weather seals (UV exposure plus standing puddle contact after storms), and torsion spring coils (the constant heat-humidity cycle accelerates surface oxidation on the spring steel). A homeowner in Denver can inspect rollers every 18 months and be fine. A homeowner in Pembroke Pines who does that will replace rollers mid-failure with a door already sagging in its tracks.
This checklist splits tasks into quarterly and annual intervals, anchored not to spring and fall, but to South Florida’s wet season (May through October) and dry season (November through April). The calendar anchor matters because you want your first quarterly check of the year in May, before the humidity spike, and your annual deep check in November, after the wet season has had six months to do its work.
The 15-Minute Quarterly Checklist (What to Check and Why)
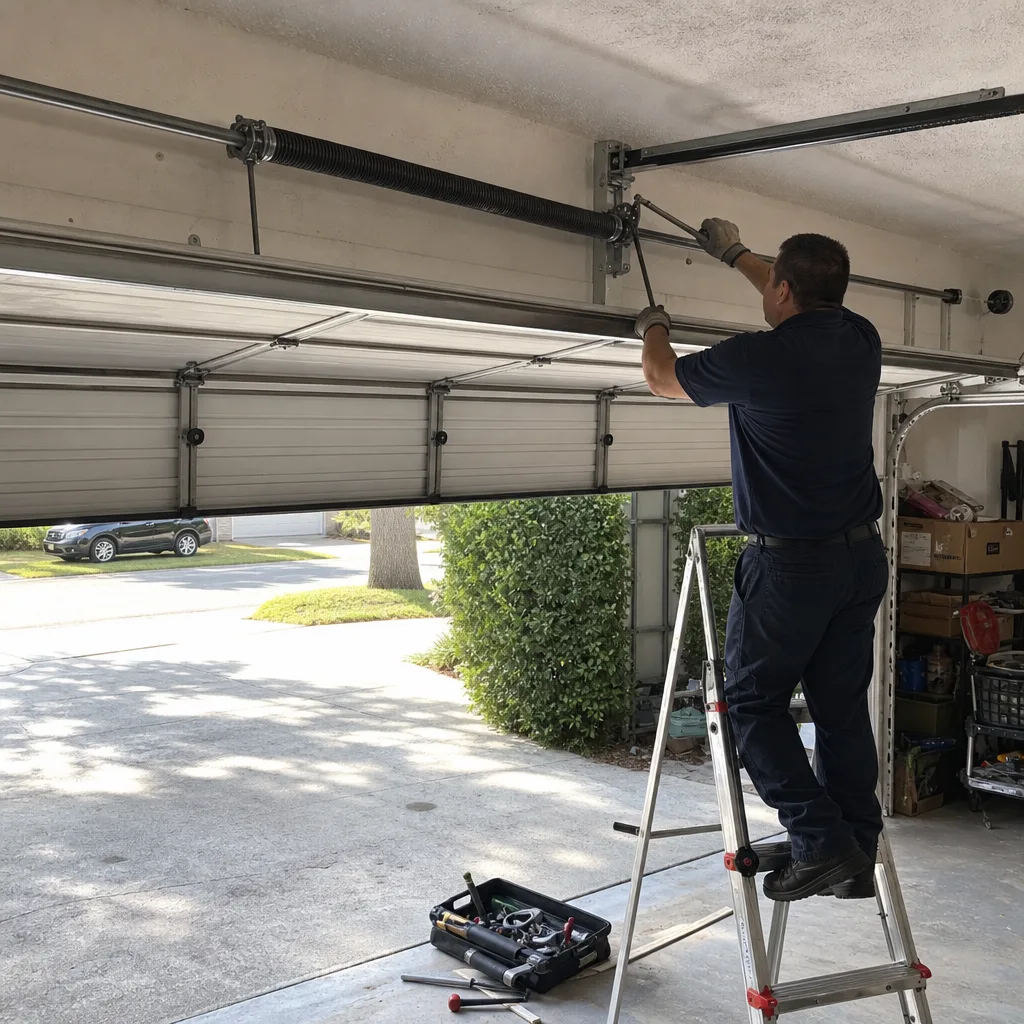
Five items. Fifteen minutes. Do this in the first week of May, August, November, and February. Each item lists the finding, what it means, and the repair cost you avoid by catching it early in the Pembroke Pines market.
1. Torsion Spring Visual Inspection
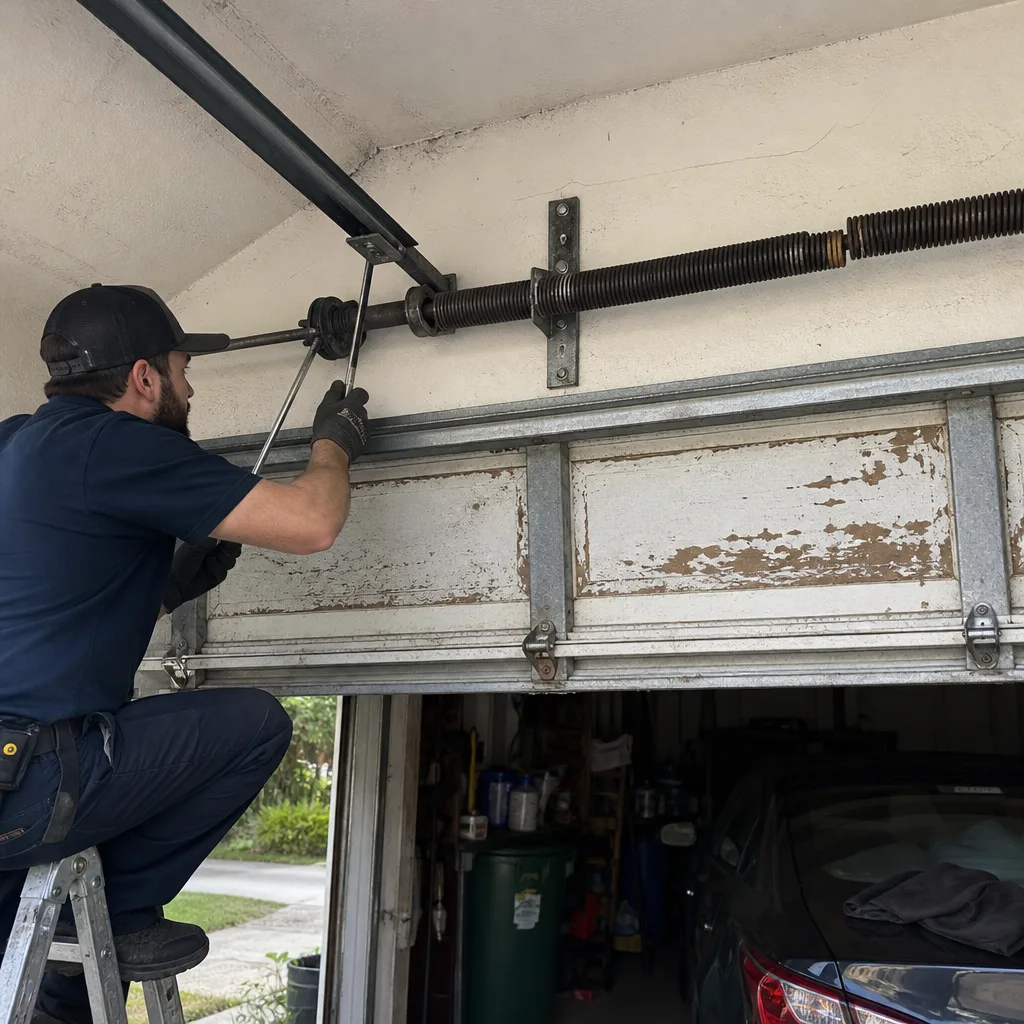
What to look for: Stand inside the garage with the door closed. Look up at the spring above the center of the door opening. You’re checking for two things: rust accumulation along the coils and any visible gap between coils. A healthy torsion spring has coils that sit flush against each other. A spring with a 1/8-inch gap between two or more coils is telling you the steel has stretched beyond its working specification.
What it means: A coil gap of 1/8 inch or more means the spring is approaching the end of its fatigue life. Torsion springs are rated for a specific number of open-close cycles, typically 10,000 for a standard residential spring. In Pembroke Pines, corrosion from humidity accelerates steel fatigue, meaning many springs fail at 6,000 to 8,000 cycles. When a torsion spring breaks, the door becomes very heavy, and in most cases the opener’s motor cannot lift it. You’re now looking at a same-day repair call instead of a scheduled replacement. For more on spotting these issues early, see our Garage Door Warning Signs: A Pembroke Pines Homeowner’s Reference Guide.
Cost avoided: A single spring replacement in Pembroke Pines typically runs $180 to $340 including parts and labor. If the spring breaks and the door drops suddenly while your car is partially through the opening, you can add panel damage at $250 to $500 per panel.
2. Lift Cable Wear Check
What to look for: The two lift cables run vertically along the sides of the door tracks. Run your fingers lightly along each cable (with the door closed, tension is low). You’re feeling for frayed strands, kinks, or any spot where the cable diameter feels thinner than the rest.
What it means: A residential lift cable is typically 1/8-inch diameter 7×19 strand galvanized cable. When more than three individual strands are broken in a 6-inch span, or when the cable shows visible necking (a localized thinning), it is at failure risk. If a lift cable snaps while the door is moving, the door jams crooked in the tracks, which is dangerous and often damages the panels.
Cost avoided: Cable replacement runs $130 to $200 per cable in Broward County. If a snapped cable causes the door to drop and twist, you’ll add panel repair at $350 to $700 typical.
3. Door Balance Test
What to check: Pull the red emergency release handle with the door closed. Lift the door manually to waist height and release it. A properly balanced door stays in place or drifts only an inch. If the door drops, the springs are worn. If it rises, the springs are over-tensioned.
What it means: A door that won’t hold at waist height is putting the opener motor under load the manufacturer never designed for. The opener is now doing the spring’s job. That shortens opener life from a typical 10 to 12 years down to 3 or 4 in Pembroke Pines, where heat already pushes motor temperatures higher on daily cycles.
Cost avoided: A spring replacement at $180 to $340 beats an opener replacement at $350 to $650 plus labor.
4. Safety Sensor Alignment Check
What to check: The two photo eyes sit about 6 inches off the floor on each side of the door opening. Each one should have a steady green or amber light. If one or both lights blink, or if one is dark, the sensors are misaligned or obstructed.
What it means: Misalignment happens gradually as door tracks flex through daily cycles and as the garage floor shifts imperceptibly with Broward’s high water table. A blinking sensor means the door will not close when you press the button, or it will reverse immediately after starting down. This is the second most common service call we see in Pembroke Pines after broken springs.
Cost avoided: A sensor realignment or cleaning is a $75 to $125 service call. Ignoring it and repeatedly pressing the close button teaches the opener’s logic board to override, which eventually burns out the board at $180 to $320 replacement cost.
5. Closing Force Test
What to check: Lay a 2×4 piece of lumber flat on the garage floor under the door’s center. Press close. The door should reverse within one second of contacting the wood.
What it means: If the door presses down hard on the 2×4 before reversing, or does not reverse at all, the opener’s force limit is set too high. This is the test that prevents a child or pet from being pinned. It is also the test that a manufacturer will reference if you ever file a warranty claim related to opener malfunction.
Cost avoided: A force-limit adjustment is done as part of a $110 to $170 service call. The alternative is an injury and a liability claim, which no dollar range can cover.
The Annual Deep Checklist: Measurements That Matter
The annual check adds nine items on top of the quarterly five. Schedule it for early November, after the wet season. Budget 45 to 60 minutes. This is where precision matters: you are not looking for whether something is broken, but whether it is measurably close to a threshold that would warrant a scheduled replacement rather than a reactive repair.
1. Roller Bearing Wear Assessment
Measurement: With the door closed, run a finger across each roller wheel, checking for side-to-side play. A new nylon roller has zero lateral movement. A roller with 1mm of lateral play (about the thickness of a credit card) has a bearing that is starting to wear.
Pembroke Pines adjustment: National manufacturer schedules say to inspect rollers every 3 to 5 years. In Pembroke Pines humidity, the nylon bearing seals on budget-grade rollers degrade faster because moisture cycles through the seal interface. We recommend inspecting every 12 months and budgeting for roller replacement every 4 to 6 years, not the 7 to 10 years printed in generic manuals.
Cost avoided: A full roller replacement runs $110 to $190 including the upgraded nylon rollers. A seized roller that drags in the track will chew through the track itself, and track replacement adds $250 to $450 to the repair.
2. Bottom Seal Compression Test
Measurement: Close the door and step outside. Crouch at the center of the door bottom and look for daylight between the seal and the concrete. Then run your hand along the seal from one side to the other, feeling for cracks, tears, or flattened sections where the seal has compressed to less than 1/4 inch of height.
What it means: The bottom seal needs enough compression to hold a piece of paper firmly when the door is closed. If you can slide a sheet of regular copy paper under the seal with light resistance, the seal is done. In Pembroke Pines, a failed bottom seal does not just let rain in, it gives the twice-daily humidity cycle full access to everything inside the garage, including the door springs and the opener logic board.
Cost avoided: A bottom seal replacement is $80 to $140 installed. A door left with a failed seal for one full Pembroke Pines summer will accelerate rust on the torsion spring hardware and can add $50 to $100 of corrosion damage to the cost of your eventual spring repair.
3. Track Alignment Measurement
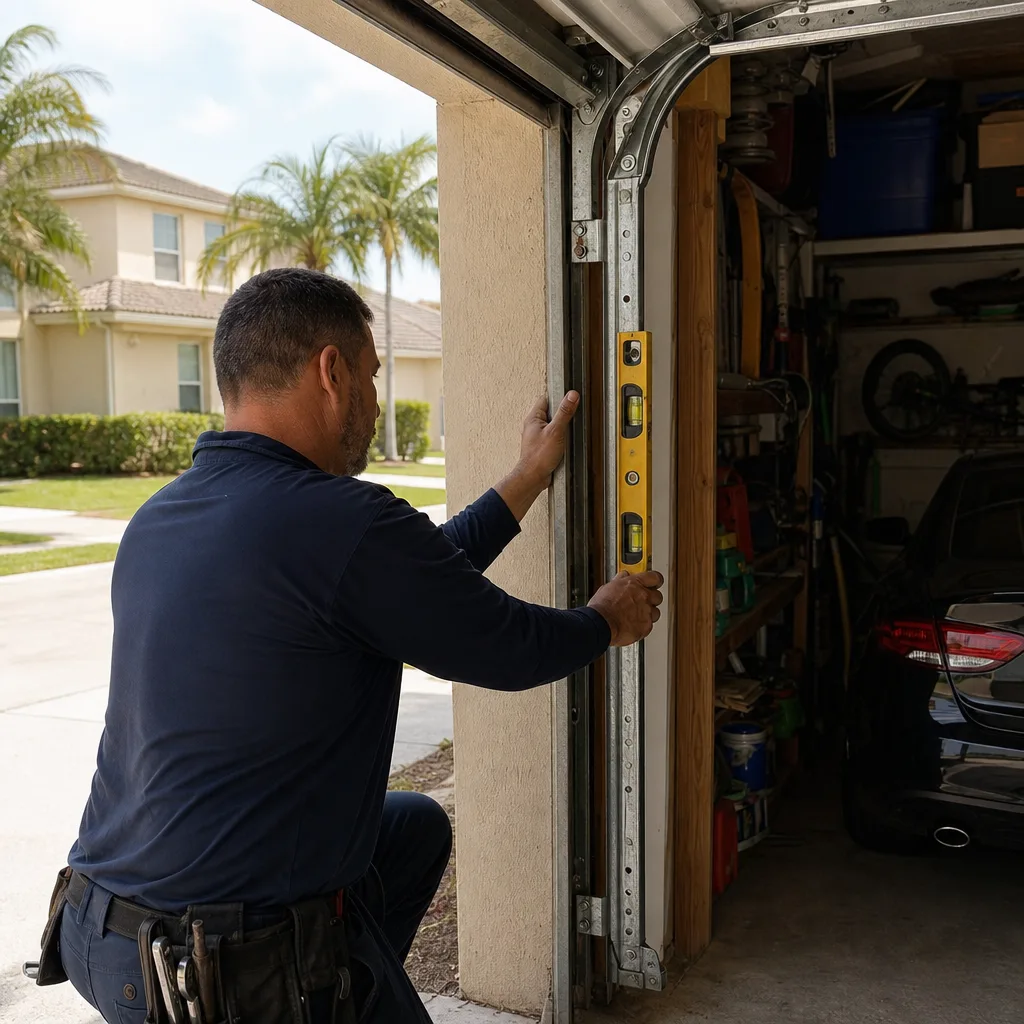
Measurement: Use a tape measure. Measure the distance between the vertical track and the door edge at three heights on each side: 6 inches from the floor, at the midpoint, and at the top. The three measurements should be within 1/8 inch of each other on the same side. Also check that the tracks are plumb using a level held against the side of the track.
What it means: A track that is out of plumb by more than 1/8 inch over its height will guide the door into the frame on one side. The rollers compensate for a while, then the nylon wears on one shoulder, then the roller breaks. Track misalignment is also the most common cause of a “washboard” noise on descent, which many Pembroke Pines homeowners mistake for a spring problem.
Cost avoided: A track alignment adjustment runs $130 to $200. Replacing a door that jumped a track and bent the panel runs $450 to $1,100 depending on the panel.
4. Hinge and Fastener Torque Check
Measurement: Using a 7/16-inch socket (or a nut driver), check every hinge bolt and every track bolt for tightness on both sides of the door. Do not overtighten; the correct torque is roughly one-eighth turn past hand-tight. Count the loose bolts.
What it means: Garage doors go through roughly 700 to 1,000 open-close cycles per year in a typical Pembroke Pines household. Each cycle applies a small vibration pulse to every fastener. After five years, it is normal to find 3 to 5 loose bolts on an unmaintained door. A loose bottom hinge bolt lets the bottom panel flex, which eventually cracks the panel material.
Cost avoided: Ten minutes with a socket wrench beats a $350 to $600 bottom panel replacement.
5. Opener Chain or Belt Tension Check
Measurement: With the door closed, look at the opener rail from below. If you see the chain hanging low enough to touch the top of the open door when the door is in the fully up position, it needs tightening. For belt drives, press on the belt with a thumb: more than 1/2 inch of deflection at the center of the rail means looseness.
What it means: A loose chain slaps against the rail on every cycle, which sounds like a rattle and slowly wears both the chain pins and the rail liner. A loose belt slips on the sprocket and can jump teeth, at which point the door is stranded mid-open. In Pembroke Pines, chain-drive openers in garages that are not climate-controlled will need this check more often because the heat cycle causes steel stretch.
Cost avoided: A tension adjustment is $90 to $130. A chain that jumps the sprocket during operation can bend the rail, and a new rail plus labor is $180 to $300.
6. Opener Logic Board Dust and Moisture Check
Measurement: Unplug the opener from the ceiling outlet. Remove the plastic light cover or logic board cover (usually two screws). Look at the circuit board surface. You are checking for a film of oily dust, visible corrosion on any solder point, or a white chalky residue anywhere on the board.
What it means: Pembroke Pines garages that open directly to the outside, or that are not cooled, cycle through humidity levels that cause condensation on the logic board in the early morning hours. The chalky residue is corrosion, and it will eventually cross a solder trace and create a short. A board with a corrosion spot should be replaced before it takes out the wall button or the safety sensors with it.
Cost avoided: A logic board replacement is $180 to $320. A full opener replacement, which is what happens when a corroded board is left in place and burns out the transformer too, is $350 to $650.
7. Garage Door Panel Inspection
Measurement: Walk the outside of the closed door from left to right with your hand flat on each panel. Press in on the center of each panel section. Check for delamination (bubbling or peeling of the outer steel skin from the insulation core), hairline cracks at the hinge mount points, and any rust at the bottom edge of the lowest panel.
What it means: The bottom panel on a Pembroke Pines door is the failure point. Standing water from hurricane-season downpours wicks up into the panel seam, and the steel skin begins to corrode from the inside. A rust bubble that is soft to the touch means the panel structure is compromised and will not carry a hinge load for much longer.
Cost avoided: Treating a rust spot with a wire brush and a rust converter costs $15 in materials and 20 minutes. Replacing a bottom panel on a Clopay or Amarr door runs $350 to $700 depending on the door model and size.
8. Opener Auto-Reverse Test (with the 2×4)
This annual item is identical to the quarterly closing force test, but now it also includes the opener’s full-cycle reverse of a rising door. With the door open, lower an empty cardboard box from above onto the path of the opening door at about 4 feet off the ground. The door should stop and reverse immediately when it contacts the box. This is the second half of the manufacturer-mandated safety test, and it is the one most homeowners skip because it requires working from a ladder.
Cost avoided: A service call to recalibrate a failing photo-eye or force limit is $110 to $170. The alternative is a door that violates the federal UL 325 safety standard, which opens you to real liability.
9. Weatherstripping on the Side Jambs
Measurement: Close the door and stand inside the garage. Check the 3 to 4 inches of flexible seal material that runs vertically along each side of the door. It should press firmly against the door panel edge along the entire height with no visible daylight. Pay particular attention at the top corner where the vertical seal meets the header.
What it means: In Pembroke Pines, the side weatherstripping is your first line of defense against wind-driven rain, which routinely hits garage door faces at an angle during afternoon storms. A 2-inch gap at the top corner will channel water directly onto the opener rail and the torsion spring hardware.
Cost avoided: Side seal replacement runs $90 to $150 installed for both sides. Water damage to the opener from a failed side seal adds $180 to $320 in board replacement to your annual maintenance bill.
Humidity and Rollers: The Interval Manufacturer Schedules Get Wrong
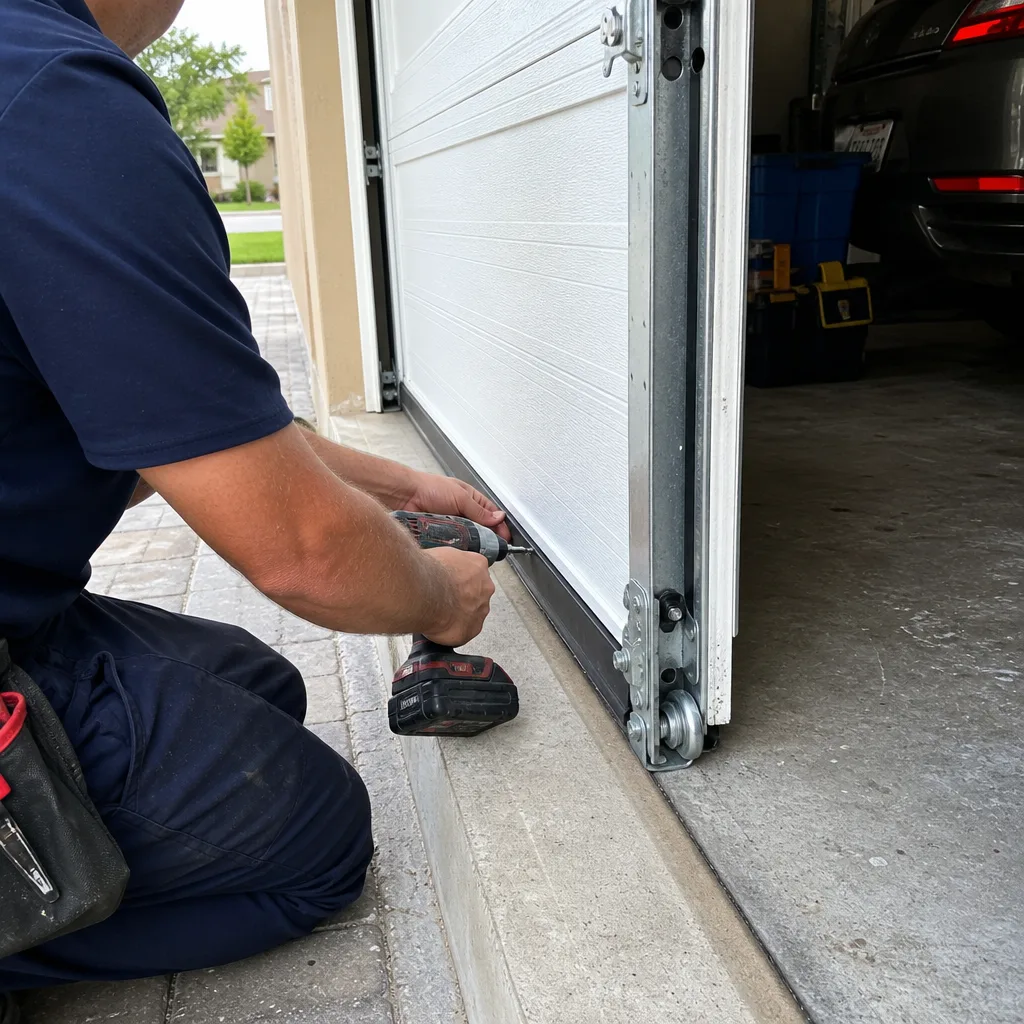
Here is a specific, documented fact that most garage door maintenance guides never mention: nylon garage door rollers in Pembroke Pines fail on a consistently shorter interval than the national manufacturer average. LiftMaster, Genie, and Clopay all publish maintenance schedules that assume a roller bearing will last 10,000 cycles, roughly 10 to 12 years for a two-car household. In coastal Broward County, we have measured failure on nylon rollers with manufacturer date codes showing 4 to 6 years of service.
The mechanism is straightforward. Nylon rollers spin on ball bearings sealed with a rubber or silicone lip. In a dry climate, that seal keeps the bearing lubricant in and everything else out. In Pembroke Pines, the daily humidity cycle presses moist air through the seal interface as the garage heats during the day and cools at night. The bearing becomes a miniature condensate trap. Rust forms on the bearing balls, the rust becomes grit, the seal tears, and the nylon wheel starts to wobble on the shaft. The roller then drags against the track instead of rolling, which wears the nylon wheel into an oval shape, which then binds the door and puts lateral strain on the hinge.
This is why you cannot rely on a calendar that says “inspect every 5 years.” If your Pembroke Pines garage is not climate controlled, inspect rollers every 12 months and budget for replacement every 4 to 6 years. If you have a coastal Pembroke Pines address within three miles of the Intracoastal, the salt-laden air pushes the interval closer to 4 years. When you replace, replace all the rollers at once, not just the one that failed. A set of 10 to 12 nylon rollers installed runs $110 to $190, and spreading replacements across multiple visits will cost you double that in dispatch fees.
Wayne Dalton and Amarr doors, which use a different roller profile and bearing type than Chamberlain or LiftMaster doors, are not exempt. If anything, we have seen more Wayne Dalton roller failures in Pembroke Pines because the OEM roller was a budget nylon wheel with lower-sealed bearings. An upgraded aftermarket roller with a stainless steel bearing set solves the problem for the next interval.
The Photo Documentation Protocol for Every Check
You do not need to hire a technician at $110 to $170 per visit to build a maintenance record. You need a phone camera, a ruler, and a naming convention. The point of photo documentation is not to make the check easier; it is to create a before-state record that you can hand to any technician, compare against the after-state, and use to dispute a warranty decision if the manufacturer questions whether you maintained the door.
Here is the protocol we recommend to every homeowner in Pembroke Pines, and it matches what our own technicians document on every service visit, per Clause 4 of The Haven Standard: the failed component is photographed before a quote is given.
- Create a “Garage Door” album on your phone. Name it with the year: “Garage Door 2026.”
- Photograph the torsion spring from two angles: straight-on from the center of the garage, and from the right end bracket where the spring cone meets the center bearing plate. Include a ruler in the photo. This records the coil gap, which is your wear indicator.
- Photograph each lift cable at the bottom bracket, where the cable wraps around the drum, and at any visible wear points. Use a macro shot if your phone supports it. The individual broken strands are the evidence.
- Photograph both safety sensors, including the light state. A photo of a steady green LED today is your proof that the sensor was functioning on the date of the check.
- Photograph the bottom seal from outside, with a piece of copy paper inserted under the seal where you measured clearance. The photo records whether the paper slides easily or binds.
- Use a consistent filename for every photo: “Garage Door 2026-05-01_Q1_Spring_CoilGap.jpg.” Four checks a year, five photos per check, and after four years you have 80 data points that tell you exactly how fast your door is wearing.
This record has real value. If a torsion spring fails at year six of a seven-year warranty, and the manufacturer asks for proof of maintenance, the first thing their claims department looks for is a maintenance log. A folder with dated photos of the spring, the cables, and the safety sensors is stronger evidence than a packet of receipts, because receipts only prove you bought parts. Photo documentation is also what separates a maintenance claim you can process from one that gets denied. If you are dealing with a Chamberlain, LiftMaster, or Genie warranty, the photo record is your documentation that the door was not neglected while it was in your care.
For reference, this is the same standard we apply when we leave a job site. Servo Garage Doors Pembroke Pines home service includes a documented photo record of the finding and the completed work on every visit, not as an add-on, but as a standard part of the service. The customer sees the failed part before anyone quotes a replacement.
The Three Skipped Items That Void Most Manufacturer Warranties
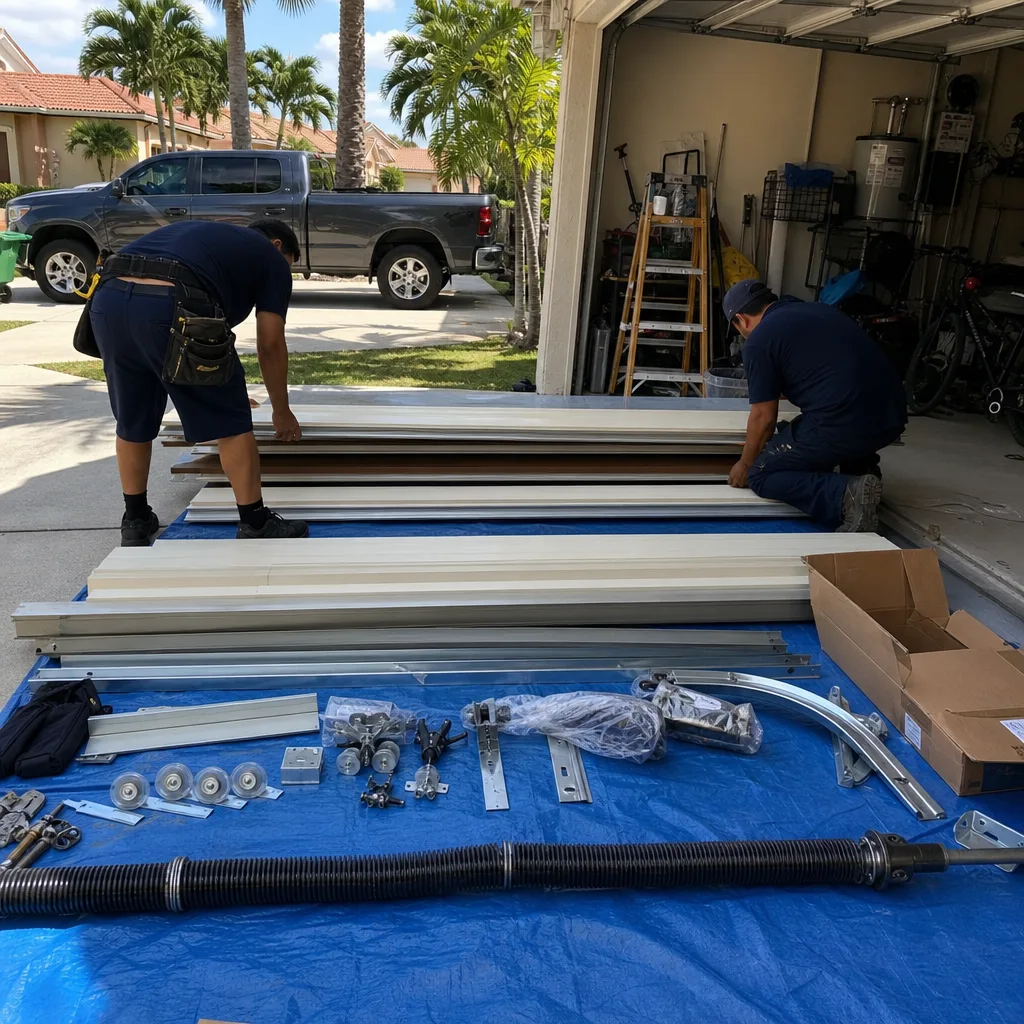
Garage door manufacturers write warranty contracts with maintenance obligations buried in the fine print. Most homeowners never read them. Here are the three most common warranty-voiding omissions we see when Pembroke Pines homeowners bring us a warranty claim that was rejected, and how to confirm each one was handled with documentation rather than a technician’s word.
1. The 2×4 Reverse Test (The Big One)
Every manufacturer garage door opener warranty from LiftMaster, Chamberlain, and Genie includes a clause requiring the owner to maintain the door in compliance with UL 325, the federal safety standard for residential door operators. UL 325 mandates that the auto-reverse mechanism be tested monthly. If you file a warranty claim for any opener component and you cannot produce a maintenance log showing monthly auto-reverse tests, the manufacturer can deny the claim on the basis of owner negligence.
How to confirm it was done: Log it. A paper or digital log with a date and a checkmark counts. Photo documentation of each test is even stronger. Do not rely on a technician’s verbal assurance that the test was performed; the manufacturer wants dated records, not witness testimony.
2. Spring Lubrication (Yes, This Is a Warranty Requirement)
Amarr and Clopay door warranties both require the owner to lubricate the torsion spring, hinges, and rollers every 6 to 12 months using a lithium-based or silicone-based spray lubricant. If you skip this and the spring fails from corrosion, the warranty department has grounds to deny the claim on the basis that the component was not maintained to the written specification.
In Pembroke Pines, where corrosion is the expected failure mode on springs, this clause matters more than anywhere else in the country. A spring that shows even surface rust is a flag for the warranty adjuster. A light coat of white lithium grease on the spring coils every six months, wiped clean before each application, will keep the spring surface consistent with the warranty requirement.
How to confirm it was done: Purchase the same lubricant each time and keep the receipt, or photograph the lubricant can next to the spring on the date of application. A receipt for white lithium grease purchased every six months is evidence of the habit.
3. Door Balance Maintenance
Clopay and Amarr panel warranties exclude damage from “improperly balanced doors.” The manufacturer considers balance upkeep to be the owner’s responsibility because a door that is out of balance places stress on the panels, hinges, and track that the product was not designed to sustain. If a bottom panel cracks because the door was running out of balance for a year, the warranty claim will likely be denied.
How to confirm it was done: The door balance test is part of the quarterly checklist above. Log the date and result of every test, and if you have any doubt about the result, call a professional to perform a balance check and issue a service record. Any door company in Pembroke Pines should provide a written service report on request, but if a company will not give you documentation of what they checked and what they found, get a different company.
Our approach to this is codified as Clause 1 of The Haven Standard: a flat, written price and written scope are delivered before any work starts. The paperwork you receive after the job is not optional and not verbal; it is a written record that stands up to a warranty claim. If you are in Pembroke Pines and want the warranty documentation handled properly, call Garage Door Repair in Pembroke Pines at (954) 280-1425 and ask us to perform the quarterly check as a maintenance visit, with the full photo record included.
Common Mistakes to Avoid
- Lubricating the door tracks. The tracks are the metal guide channels the rollers ride in. They should be clean and dry at all times. Lubricant on the tracks attracts dirt, which turns to grinding paste, which wears the rollers faster. Lubricate only the spring, hinges, rollers bearings, and the opener chain or belt.
- Using WD-40 instead of lithium or silicone grease. WD-40 is a solvent and water displacer, not a long-term lubricant. It will strip whatever lubrication is on the spring and evaporate within a week. Use white lithium grease or a dedicated garage door lubricant like 3-IN-ONE Garage Door Lubricant or Blaster. The correct product costs $8 to $12 at a Pembroke Pines hardware store.
- Ignoring a noisy door until it is loud. The metallic tick on descent is a torsion spring that is already failing. The grinding on ascent is a roller bearing that has seized. The rattle on the downstroke is a loose bolt. None of these noises resolve themselves; they all progress to a mechanical failure.
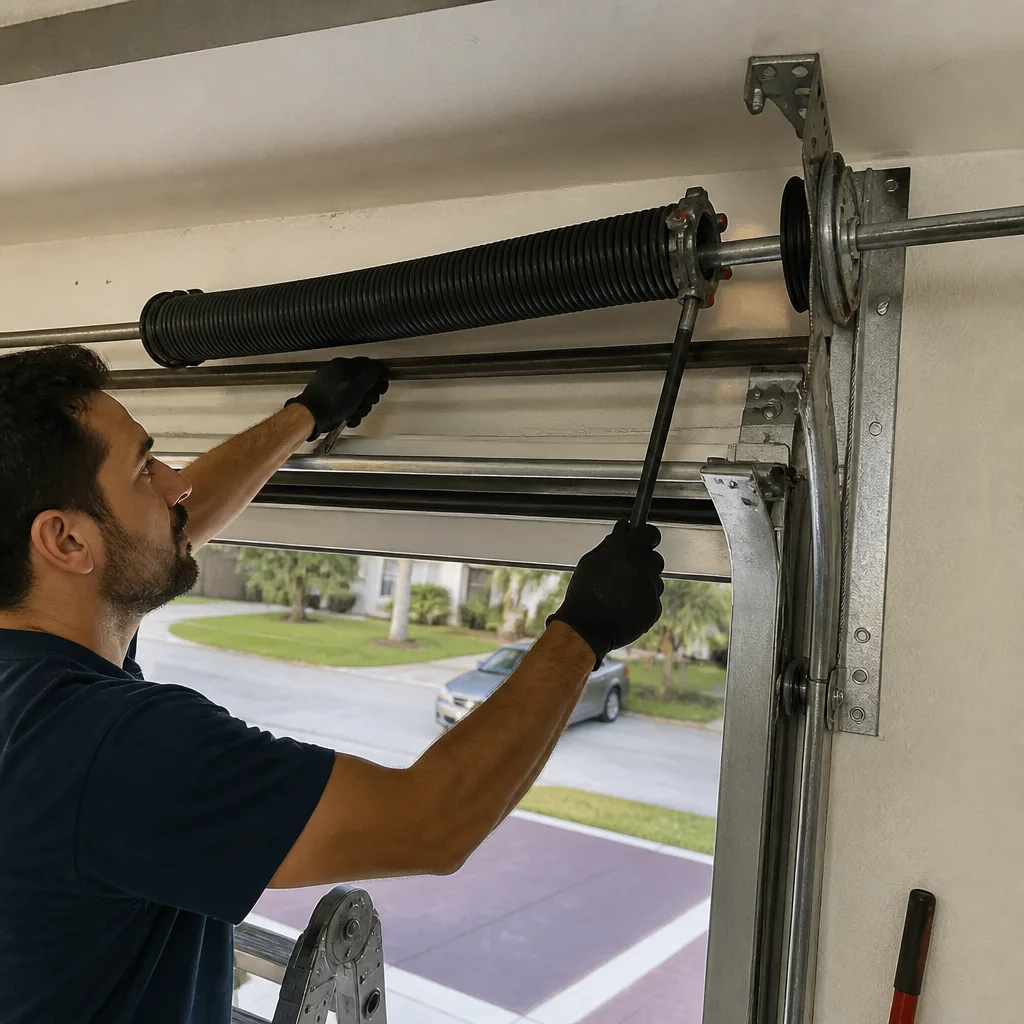
- Attempting spring replacement as a DIY project. Torsion springs are under 100 to 150 pounds of torque when fully wound, even with the door closed. The winding bars required to adjust or replace them store enough kinetic energy to cause serious injury. This is a professional-only repair, no exceptions, and the cost of the repair is not the place to save money.
- Replacing one spring on a two-spring door. Torsion springs are sold and installed in pairs for a reason: both springs have the same cycle count and the same fatigue life. If one has broken, the other is near failure. Our technicians quote a pair replacement as standard, and a pair runs $280 to $520 in Pembroke Pines, not double the single-spring price.
- Buying a new opener before checking the door balance. The most common misdiagnosis we see is a homeowner assuming the opener motor is dead because the door will not open. In a large share of those calls, the door is out of balance and the opener is fine; the springs are the issue. Test the balance first. It costs nothing and it can save you a $500 mistake.
- Waiting until the January “quiet season” to get maintenance done. South Florida’s dry season is busier for garage door companies, not quieter. The November through April window is when snowbirds with second homes in Pembroke Pines schedule all their annual maintenance before heading back north. If you want a quick appointment, call in May or June, when local trade volume drops.
When to Call a Professional
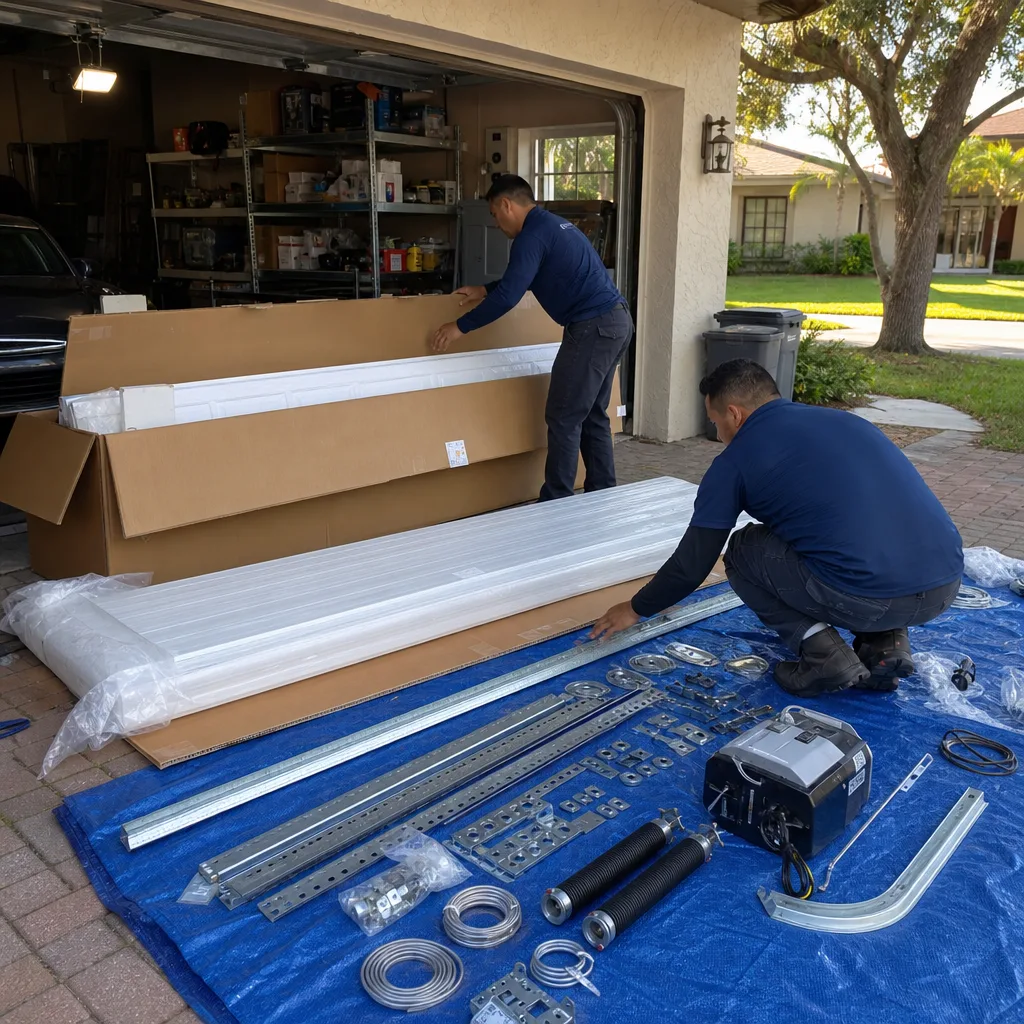
Some items on this checklist are owner-level tasks. Some are not. If you find a torsion spring with a visible coil gap or rust that flakes off when you touch it, do not adjust it and do not spray it with penetrating oil to “loosen it up.” The spring is under load, and any manipulation risks a release. Call a technician. If a lift cable shows three or more broken strands in any six-inch span, the cable is past its serviceable life and should be replaced the same day. If the closing force test fails, do not simply lower the force limit on the opener; a door that needs excessive force to close has an underlying track, balance, or sensor problem that a force adjustment will mask rather than fix. Servo Garage Doors Pembroke Pines offers free estimates in Pembroke Pines, and every estimate includes a written price and written scope before any work starts, per Clause 1 of The Haven Standard. Call (954) 280-1425.
Frequently Asked Questions
A quarterly maintenance visit from a Pembroke Pines garage door company typically runs $110 to $170, covering the five quarterly inspection items plus any small adjustments like sensor realignment and force-limit calibration. An annual deep maintenance visit runs $160 to $250 and includes the full nine-item checklist, lubrication, and a written service report with the photo documentation we described above. Some companies in Broward County offer maintenance plans that bundle one annual deep check plus three quarterly checks for $350 to $450 per year, which is typically 20% cheaper than booking each visit separately. Call (954) 280-1425 for a written maintenance quote for your specific door.
Four times per year. The quarterly schedule (first week of May, August, November, February) tracks the start and peak of the wet season and the dry season. If you own a second home in Pembroke Pines that is unoccupied for long stretches, increase to five times per year with an additional check before the wet season begins in early May, because an unoccupied garage accumulates humidity damage faster. If you are unsure, call Garage Door Opener Repair & Installation in Pembroke Pines and ask for a maintenance visit with the photo record included.
Yes, for repair work. Emergency calls for broken springs, snapped cables, and doors that are stuck open or closed are answered by a live person 24/7, including holidays, with a named technician dispatched and an on-the-way text. Same-day availability in Pembroke Pines is generally strong Monday through Saturday, and most spring and cable repairs are completed in 90 minutes or less on arrival. Installation and full-door replacement work is not same-day: those jobs require measurement, product ordering, and scheduling. Call (954) 280-1425 for a free estimate, and you will get a written price before any work starts.
A torsion spring in the early stages of fatigue shows three signs, in order: a faint metallic tick on door descent, a visible 1/8-inch or larger gap between two or more coils, and a door that drops noticeably when released at waist height during a balance test. In Pembroke Pines, where humidity accelerates spring corrosion, you may also see rust blooms on the coil surface before any of the mechanical signs appear. If you observe any one of these three signs, budget for a spring replacement at $180 to $340 and schedule it before it becomes an emergency.
For spring and cable repairs, yes. Our technicians carry torsion springs in the most common wire diameters and lengths, lift cables for standard 7-foot and 8-foot doors, roller packs, hinges, and safety sensor kits on the truck at dispatch. For opener logic boards and brand-specific components on Chamberlain, LiftMaster, Genie, Clopay, Amarr, Wayne Dalton, Craftsman, or Raynor systems, parts are ordered from the local distribution hub and typically arrive within one to two business days in Pembroke Pines. On the rare occasion a part is not on the truck, the technician shows you the photo of the failed component and gives you a written price for the replacement before any work begins.
No. The flat, written price and written scope you agree to before the technician starts are the price and scope of the job, full stop. If the technician finds an additional issue during the repair, you receive a written addendum with the photo documentation of the new finding and a written price for the additional work, and nothing proceeds without your approval. This is Clause 1 of The Haven Standard, and it applies to every job we do in Pembroke Pines. Call (954) 280-1425 and you will get the price in writing before anything is touched.
How do I know if my garage door needs replacement instead of repair?
The decision to repair or replace is a cost-per-year calculation. If your door is under 10 years old and the failing component is a spring